Integrate Paytm Payment Gateway for static hosted Website using Google Cloud Function.
Many a times there is a need for a payment gateway usually for Donation but You have a Static Hosting Ex: github pages. To keep your Merchent key Secret you need to buy hosting, Well You Don’t Need it Anymore because you can use Google Cloud Functions for free.
What Do You Need?
- A Paytm Merchent Account I’ll use mine for the demo.
- A Google Account That will be used for using Google Cloud Function.
- A Static Hosting I’ll use Github Pages for the demo.
Steps to Create Backend Using Google Firebase Functions.
- Go to Google Firebase Console.
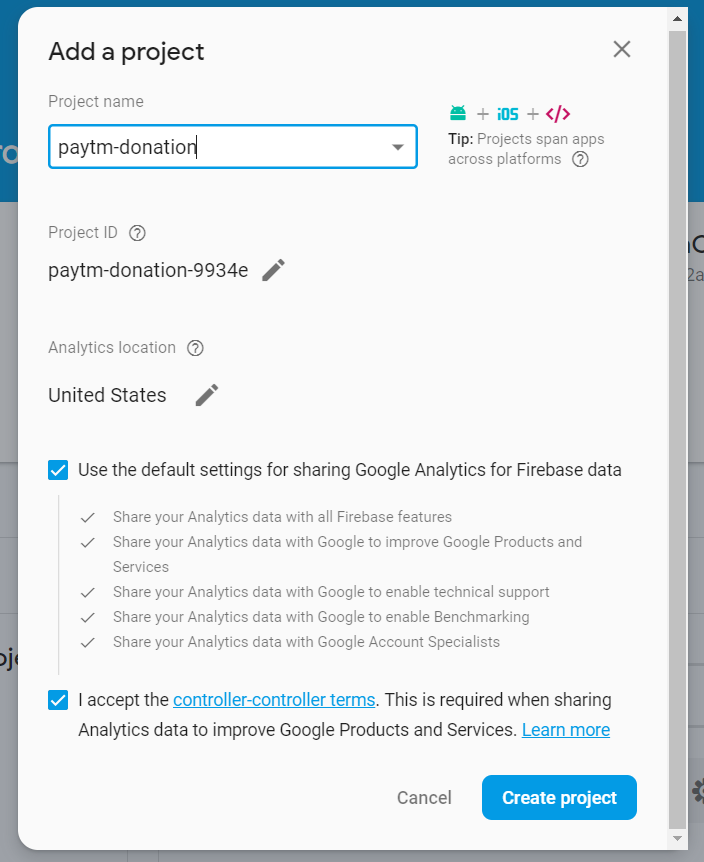
- Create a New Project.

- Give a name to it, Example paytm-donation.
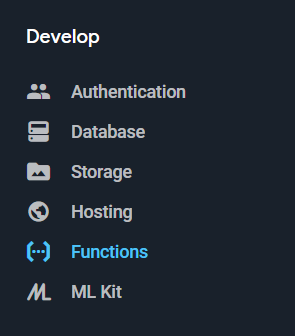
- Go to functions section on the left side.
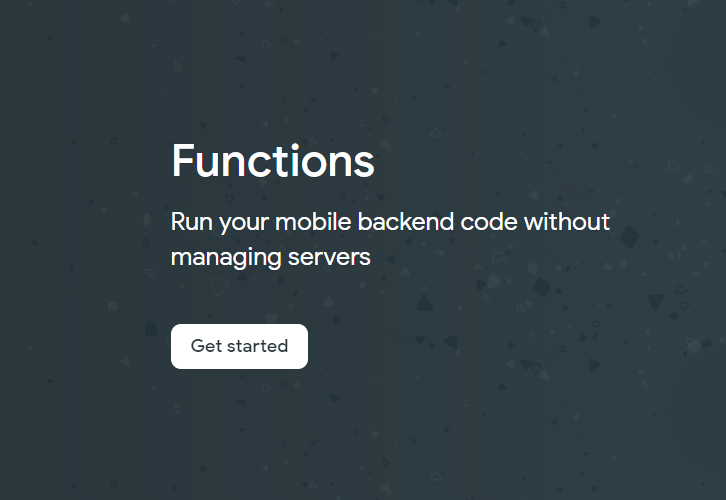
- Click on Get Started
- To use Functions, you need to install Firebase command line tools using npm (Node.js).
If you have node js already installed. Run the following command ti install Latest Version of Firebase CLI.$ npm install -g firebase-tools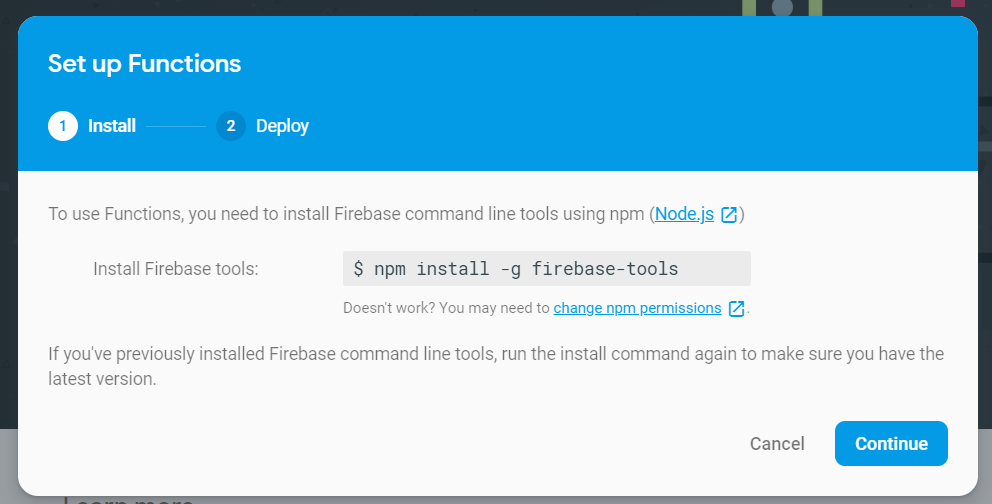
- After You have everything setup, make a new directory for your project, and move into it.
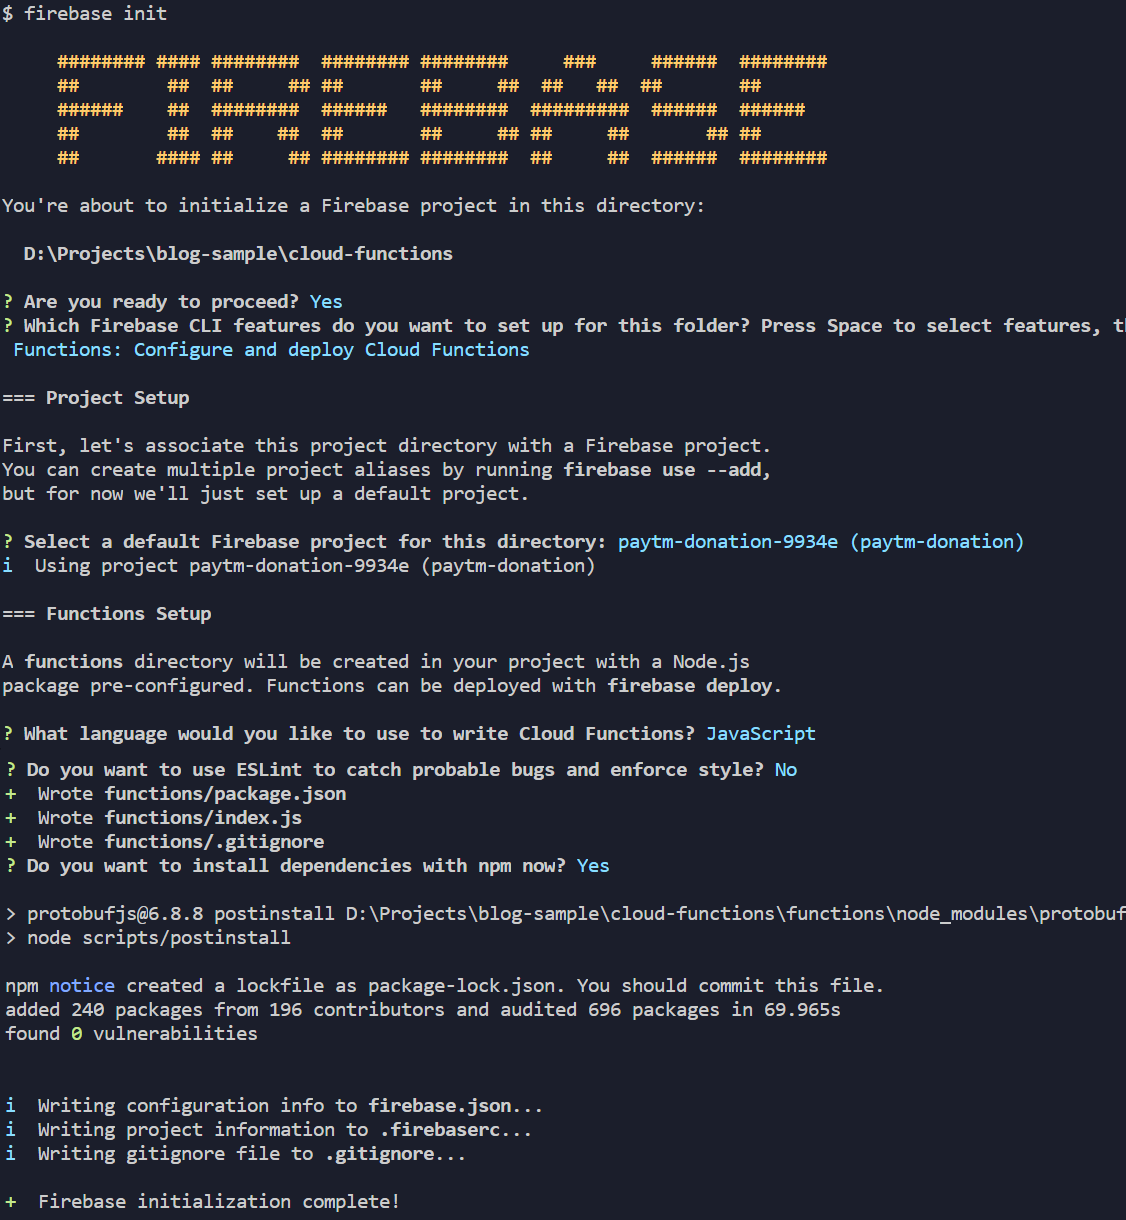
Initiate your project using:$ firebase init - Select Cloud functions using space, select your project, choose javascript as Programing Language and select No for ESLint and Yes for Install Dependancy Now.
- Download Zip From Here and Place the
paytmFolder insidefunctionsfolder as Shown.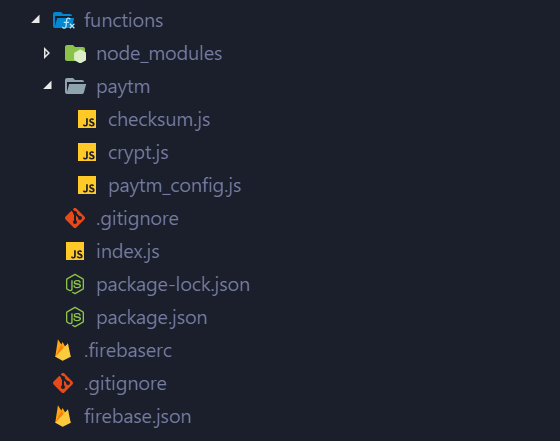
- Replace the Code for file
paytm_config.jsunder paytm folder with the following code for better understanding.module.exports = { paytm_config: { PAYTM_ENVIRONMENT: 'TEST', //possible values: TEST | PROD MID: '********************', // Get it From https://dashboard.paytm.com/next/apikeys use Test id for test purpose and Production id for Production Purpose WEBSITE: 'WEBSTAGING', // USE WEBSTAGING for testing, You Will get it for Production here https://dashboard.paytm.com/next/apikeys CHANNEL_ID: 'WEB', // Use WEB for Desktop Website and WAP for Mobile Website INDUSTRY_TYPE_ID: 'Retail', // Use Retail for Testing, For Production You Can Get it from here https://dashboard.paytm.com/next/apikeys MERCHANT_KEY: '****************', // Get it From https://dashboard.paytm.com/next/apikeys use Test key for test purpose and Production key for Production Purpose CALLBACK_URL: 'https://us-central1-*******projectID********.cloudfunctions.net/DonationCallback', // Modify and Use this url for verifying payment, we will use cloud function DonationCallback function for Our usage // Additional Config MinAmount: 100, // Munimum amount you waana accept for donation PaymentInitURL: 'http://myblogurl/donateViaPaytm', // Initial Location where the payment begin PaymentSuccessURL: 'http://myblogurl/donationSuccessful', // Success Page URL PaymentFailureURL: 'http://myblogurl/donationFailture' // Failture page URL } } - Change the ******* as per your requirements for testing, for Callback url, replace **projectID*** with your project ID/ You can find your project id in Firebase Console.
- Make a file named
myFunction.jsoutside paytm folder as Shown.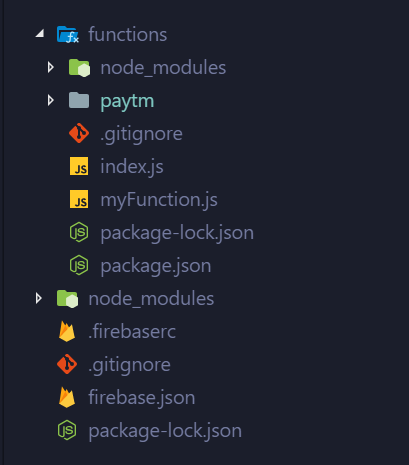
- Add the Following Code to it.
"use strict"; module.exports = { returnPage: function (paramarray, checksum, status) { var field = ''; var url = ''; if (status == 'PROD') { url = 'https://securegw.paytm.in/theia/processTransaction'; } else if (status == 'TEST') { url = 'https://securegw-stage.paytm.in/theia/processTransaction'; } for (var param in paramarray) { field += `<input type="hidden" name="` + param + `" value="` + paramarray[param] + `">`; } return ` <html> <head> <title>Merchant Check Out Page</title> </head> <body> <center><h1>Please do not refresh this page...</h1></center> <form method="post" action="` + url + `" name="f1"> <table border="1"> <tbody> ` + field + ` <input type="hidden" name="CHECKSUMHASH" value="` + checksum + `"> </tbody> </table> <script type="text/javascript"> document.f1.submit(); </script> </form> </body> </html>`; } } - Replace the
index.jsfile code with this code.const functions = require('firebase-functions'); exports.donate = functions.https.onRequest((request, response) => { var paytm_config = require('./paytm/paytm_config').paytm_config; var paytm_checksum = require('./paytm/checksum'); var myFun = require('./myFunction'); if (request.method !== 'POST') { response.send("<script>window.location = '" + paytm_config.PaymentInitURL + "'</script>"); } var random = Math.floor(Math.random() * 999999).toString(); var amount = request.body.amount; var name = request.body.name var email = request.body.email var mobile = request.body.mobile; var orderid = request.body.orderid if (amount == undefined) { response.send('Amount is Mandatory.'); } else { if (amount < paytm_config.MinAmount) { response.send('Minimum Amount of ' + paytm_config.MinAmount + ' is Mandatory.'); } } if (name == undefined) { name = 'CUST' + random } if (email == undefined) { email = 'email' + Math.floor(Math.random() * 999999).toString() + '@na.com' } if (mobile == undefined) { mobile = '9999' + random } if (orderid == undefined) { orderid = 'ORDER' + random } var paramarray = {}; paramarray['MID'] = paytm_config.MID; //Provided by Paytm paramarray['ORDER_ID'] = orderid.replace(' ', '-'); //unique OrderId for every request paramarray['CUST_ID'] = name.replace(' ', '-'); // unique customer identifier paramarray['INDUSTRY_TYPE_ID'] = paytm_config.INDUSTRY_TYPE_ID; //Provided by Paytm paramarray['CHANNEL_ID'] = paytm_config.CHANNEL_ID; //Provided by Paytm paramarray['TXN_AMOUNT'] = amount; // transaction amount paramarray['WEBSITE'] = paytm_config.WEBSITE; //Provided by Paytm paramarray['CALLBACK_URL'] = paytm_config.CALLBACK_URL; //Provided by Paytm paramarray['EMAIL'] = email.replace(' ', '-'); // customer email id paramarray['MOBILE_NO'] = mobile; // customer 10 digit mobile no. paytm_checksum.genchecksum(paramarray, paytm_config.MERCHANT_KEY, function (err, checksum) { response.send(myFun.returnPage(paramarray, checksum, paytm_config.PAYTM_ENVIRONMENT)); }); }); exports.DonationCallback = functions.https.onRequest((request, response) => { var paytm_config = require('./paytm/paytm_config').paytm_config; var paytm_checksum = require('./paytm/checksum'); var checksum = request.body.CHECKSUMHASH; delete request.body.CHECKSUMHASH; if (paytm_checksum.verifychecksum(request.body, paytm_config.MERCHANT_KEY, checksum)) { if (request.body.STATUS == "TXN_SUCCESS") { response.send("<script>window.location = '" + paytm_config.PaymentSuccessURL + "'</script>"); } else { response.send("<script>window.location = '" + paytm_config.PaymentFailureURL + "'</script>"); } } else { response.send("<script>window.location = '" + paytm_config.PaymentFailureURL + "'</script>"); } }); - Use Command firebase deploy to deploy the firebase function.
$ firebase deploy
Your Server is Ready For testing 😃. Lets make some frontend Code.
Steps to Commect to Your Backend Code using Your FrontEnd Code.
- Make a Link to Donation Page from Your Main Page
- You will need three files.
donateViaPaytm.htmldonationSuccessful.htmldonationFailture.html
- Make a form in
donateViaPaytm.htmlwith the following fields.- amount(mandatory)
- name(optional)
- email(optional)
- mobile(optional)
- orderid(optional)
 <form method="Post" and action="https://us-central1-*******projectID********.cloudfunctions.net/donate">
     <input name="name">
     <input name="email">
     <input name="mobile">
     <input name="amount" required=required>
     <input type="submit">
 </form>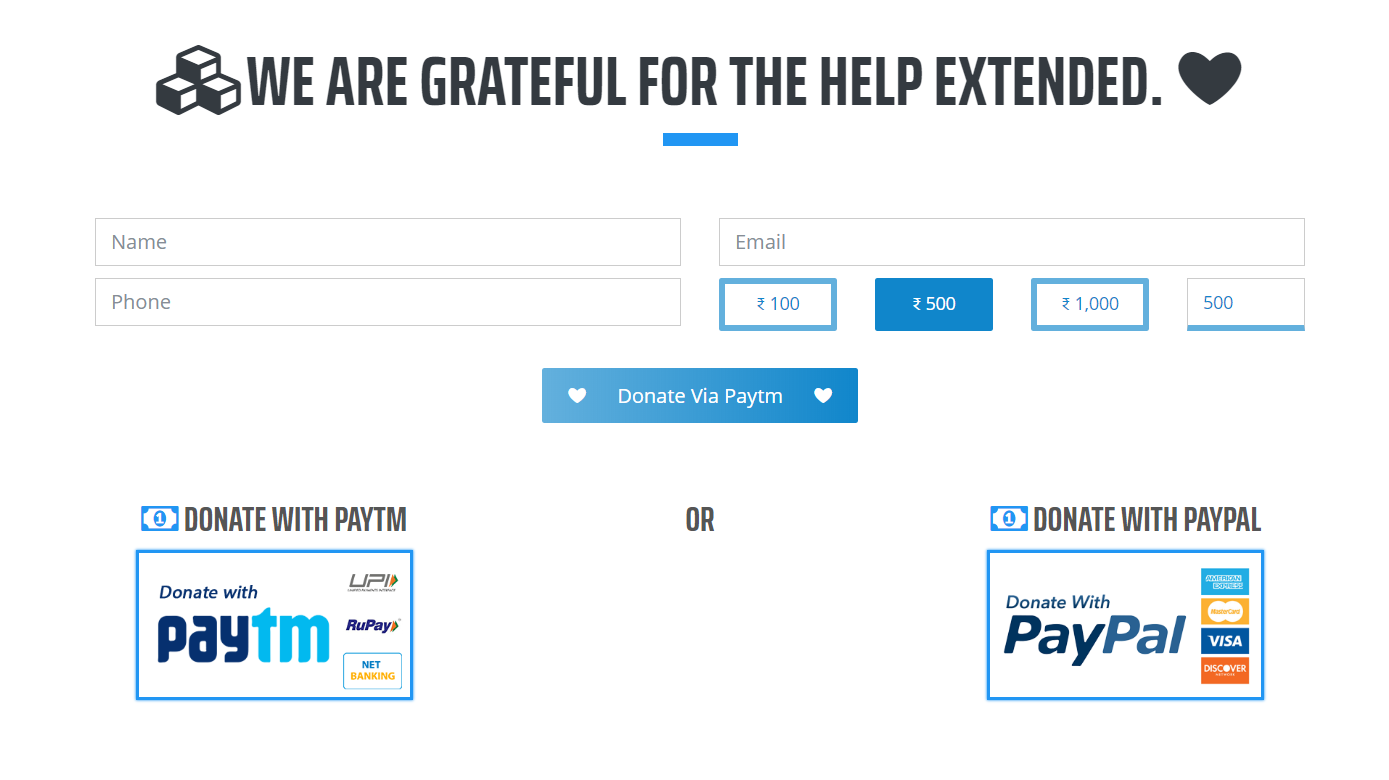
- Submit the form to go to payment gateway.
donationSuccessful.htmlWill be Shown in the case of a successful Transaction anddonationFailture.htmlWill be shown in the case of failed transaction.

- Do the Testing By Filling Form.
Your Payment Gateway is Ready, Change the credentials in the Google Cloud Function’s paytm_config.js file and You are good to go. 😃
Check it Working on My Main Website https://imlolman.github.io/, and Test a Donation 😉😉.